Quick & Simple Rocky Road Bark: Your Easy No-Bake Guide
Craving a sweet treat that delivers big on flavor but goes easy on your time? Look no further than Rocky Road Bark! This delightful confection is a testament to the fact that you don't need to be a pastry chef or even turn on your oven to create something truly spectacular. Imagine rich, velvety chocolate studded with fluffy marshmallows and crunchy nuts – all coming together in mere minutes. It’s the perfect blend of textures and tastes, making this rocky road bark recipe an irresistible choice for holiday gifting, party platters, or simply satisfying that sudden sweet tooth.
While holiday cookies often steal the spotlight, there's a unique charm to treats like barks, toffees, and fudge. They offer an impressive presentation with minimal effort, making them ideal for sharing. Our simple rocky road bark not only promises an easy process but also provides multiple portions from a single batch, making it a fantastic solution for thoughtful, homemade gifts. Dive in, and discover the magic of this irresistible, no-bake delight.
Why Rocky Road Bark is Your New Favorite No-Bake Treat
The allure of Rocky Road Bark lies in its remarkable simplicity and satisfying complexity. It's a treat that captures the heart of classic rocky road – a delicious medley of chocolate, marshmallow, and nuts – but reimagines it in an accessible, no-fuss form. If you're someone who loves the idea of homemade treats but shies away from complicated baking, this recipe is your culinary dream come true.
- Unbeatable Ease: Seriously, "no-bake" isn't just a suggestion here; it's a promise. With just a handful of ingredients and minimal steps, you can go from craving to confection in under 15 minutes of active prep time. The hardest part is waiting for it to set!
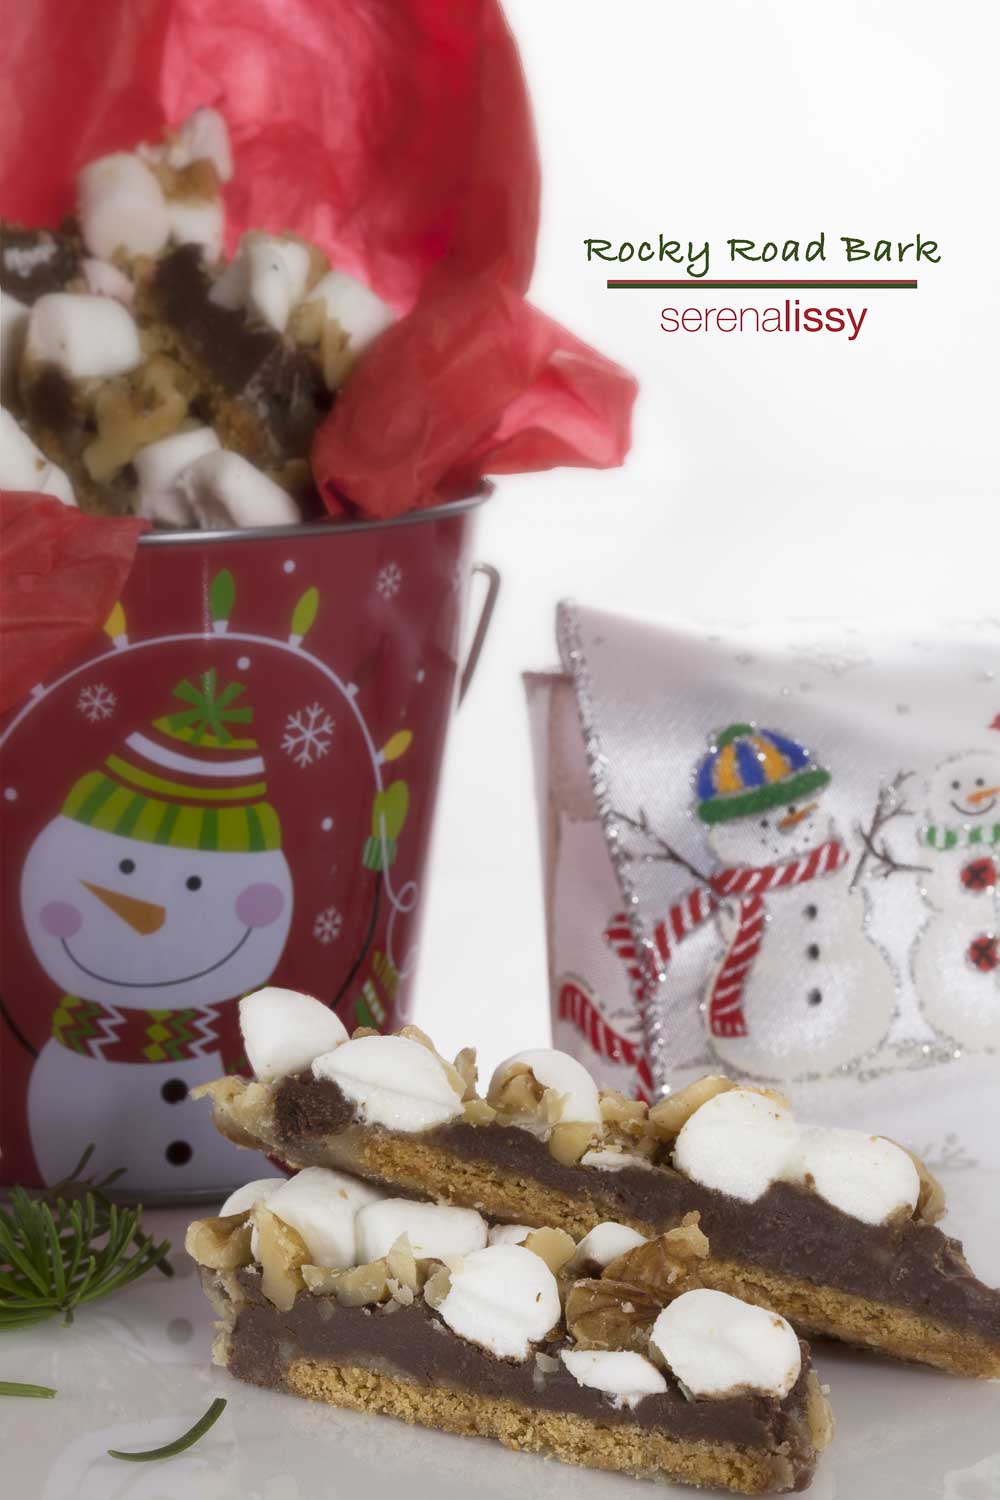
- Impressive Presentation: Despite its simplicity, Rocky Road Bark looks incredibly professional and appealing. Break it into rustic shards, and you have an elegant, artisanal-looking treat that's perfect for a dessert table or neatly packaged as a gift. If you're looking for even more inspiration on how to package this delightful treat for friends and family, our guide on Easy Rocky Road Bark: The Perfect No-Bake Holiday Gift offers fantastic ideas.
- A Symphony of Textures: Every bite of rocky road bark is an adventure. You get the snap of the chocolate, the pillowy give of the marshmallow, and the satisfying crunch of the nuts. It’s a delightful contrast that keeps you coming back for more.
- Versatility at Its Best: Whether you're whipping up a quick dessert for a cozy night in, preparing a show-stopping addition to a party spread, or crafting heartfelt holiday presents, this bark fits every occasion. It’s a guaranteed crowd-pleaser that appeals to chocolate lovers of all ages.
The Magic Behind the Rocky Road Bark Recipe: Simple Ingredients, Incredible Flavor
The beauty of this rocky road bark recipe truly lies in its thoughtful selection of ingredients, each playing a crucial role in creating the perfect balance of flavors and textures. Quality ingredients don't just taste better; they make the entire process smoother and the final product shine.
Essential Ingredients for Your Rocky Road Bark:
- Semi-Sweet Baking Chocolate (8 ounces): This forms the delicious foundation of your bark. Semi-sweet chocolate provides a deep cocoa flavor that isn't overly sugary, creating a beautifully balanced treat. While chocolate chips can work in a pinch, baking chocolate bars (chopped) often melt more smoothly and yield a superior, more luxurious texture. Experiment with good quality brands for the best results.
- Large Marshmallows (10-ounce bag), cut into quarters: These are the star of the "rocky" part! Opting for large marshmallows and cutting them into quarters ensures you get substantial, gooey pockets in every bite. Pro tip: Dipping your scissors in water after every few cuts prevents the marshmallows from sticking, making the task much easier.
- Butter (½ cup), cut into chunks: Butter is the secret to a smooth, luscious chocolate base. It melts seamlessly with the chocolate, adding a rich, creamy texture that elevates the entire bark. Don't skip it – it makes a significant difference in mouthfeel and flavor.
- Vanilla Extract (1 teaspoon): A small splash of vanilla goes a long way. It enhances the chocolate's natural notes, adding warmth and depth to the overall flavor profile, making your bark taste more complex and inviting.
- Chopped Walnuts (½ cup, optional): Walnuts provide that essential nutty crunch, offering a fantastic textural contrast to the soft marshmallows and smooth chocolate. While optional, they truly complete the classic rocky road experience. For a deeper dive into the delightful interplay of textures in this confection, check out our article Crunchy, Chewy, Chocolatey: Easy Rocky Road Bark Recipe.
Mastering Your Rocky Road Bark Recipe: Step-by-Step Instructions & Pro Tips
Crafting this delightful bark is incredibly straightforward, but a few simple techniques can ensure your results are consistently perfect. Follow these steps for success:
Preparation is Key:
- Prep Your Pan: Start by greasing an 8x8 inch baking pan with non-stick cooking spray or butter. For even easier removal and clean-up, you can also line the pan with parchment paper, leaving an overhang on the sides. This creates "handles" to lift the cooled bark out effortlessly.
- Marshmallow Magic: Take your large marshmallows and, using water-dipped kitchen shears or a sharp knife, cut them into quarters. Evenly spread these marshmallow pieces across the bottom of your prepared pan. This forms the soft, chewy foundation of your rocky road.
Melting & Mixing:
- Melt the Chocolate & Butter: In a medium saucepan, combine your semi-sweet baking chocolate and butter chunks. Place the saucepan over *very low* heat. Alternatively, use a double boiler for a gentler melting process, which helps prevent scorching. Stir constantly with a silicone spatula or wooden spoon until the mixture is completely smooth and lusciously melted. This process should be slow and deliberate; patience here ensures a silky, uniform chocolate base.
- Add Vanilla: Once the chocolate and butter are fully melted and combined, remove the saucepan from the heat and stir in the vanilla extract.
Assembling & Setting:
- Combine & Spread: Carefully pour the warm, melted chocolate mixture over the marshmallows in your prepared pan. Gently spread the chocolate with your spatula, ensuring it evenly coats all the marshmallow pieces. If using, sprinkle the chopped walnuts (or your chosen add-ins) evenly over the top, pressing them down lightly to adhere.
- Chill to Perfection: Place the pan in the refrigerator and chill for at least 1-2 hours, or until the chocolate is completely set and firm. Rushing this step can result in a messy break.
Cutting & Storing:
- Break into Bark: Once firm, lift the bark out of the pan using the parchment paper overhangs. Place it on a cutting board. You can either break it into rustic, irregular shards for that classic bark look or, for cleaner pieces, use a large, sharp knife to cut it into squares or rectangles. For cleaner cuts, you can warm your knife slightly under hot water and wipe it dry between cuts.
- Storage: Store your Rocky Road Bark in an airtight container in the refrigerator for up to 1-2 weeks. It’s also freezer-friendly for longer storage (up to a month), just be sure to thaw it in the fridge before serving.
Elevate Your Rocky Road Bark: Creative Variations and Serving Suggestions
While the classic rocky road bark recipe is perfect as is, it also serves as an excellent canvas for creativity. Don't be afraid to experiment with different additions to customize your bark!
Exciting Customization Ideas:
- Nutty Swaps: Instead of walnuts, try chopped pecans, almonds, cashews, or even roasted hazelnuts for a different flavor profile and crunch.
- Added Crunch & Salt: Incorporate crushed pretzels, mini shortbread cookies, or even a sprinkle of sea salt over the top before chilling for a delightful sweet-and-salty contrast.
- Fruity Twist: Stir in dried cranberries, cherries, or even a handful of golden raisins for bursts of chewy fruitiness.
- Candy Extravaganza: Mini M&Ms, toffee bits, or even crushed candy canes (especially during the holidays) can add extra color and flavor.
- Coconut Kiss: Toasted coconut flakes stirred into the chocolate or sprinkled on top add a tropical dimension.
- Chocolate Varieties: While semi-sweet is classic, try milk chocolate for a sweeter bark, or a blend of dark and semi-sweet for a more sophisticated, less sweet option.
Serving Suggestions:
- Holiday Gift Boxes: Package pieces of bark in decorative tins, cellophane bags tied with ribbon, or mini disposable loaf pans for charming, homemade gifts.
- Dessert Platter Star: Arrange various-sized pieces of bark on a platter alongside other treats for an eye-catching display at parties.
- After-Dinner Treat: Keep a stash in your fridge for an easy, indulgent bite after dinner or as a pick-me-up during the day.
- Crumbled Topping: Roughly chop or crumble pieces of bark and use them as a topping for ice cream, yogurt parfaits, or even hot chocolate.
This simple rocky road bark recipe is more than just a dessert; it's an invitation to create, share, and enjoy. Its no-bake nature means less stress and more joy, making it a go-to for busy seasons or spontaneous sweet cravings. So go ahead, gather your ingredients, and whip up a batch of this wonderfully easy and utterly delicious treat.
