Easy Rocky Road Bark: The Perfect No-Bake Holiday Gift
As the holiday season draws near, the festive spirit often brings with it a delightful dilemma: how to create impressive, delicious treats without spending endless hours in the kitchen? While traditional cookies certainly have their charm, there's a growing appreciation for confections that deliver maximum impact with minimal effort. Enter the star of our show: rocky road bark recipe. This irresistible no-bake delight combines the best of crunchy, chewy, and chocolatey textures into one simple yet stunning creation, making it the ultimate holiday hero for busy bakers and thoughtful gift-givers alike.
Imagine a rich, smooth canvas of chocolate, generously studded with fluffy marshmallows and crunchy nuts – that's the magic of rocky road bark. It's a treat that transcends generations, loved by kids for its playful sweetness and by adults for its sophisticated balance of flavors. The best part? It comes together in a flash, requires no oven time, and produces a bountiful batch perfect for sharing, gifting, or simply indulging yourself after a long day of holiday preparations. Say goodbye to complex baking projects and hello to your new favorite stress-free dessert!
Why Rocky Road Bark is Your Holiday Hero
In the whirlwind of holiday festivities, simplicity is often the greatest luxury. The Crunchy, Chewy, Chocolatey: Easy Rocky Road Bark Recipe truly shines in this regard, offering numerous advantages that make it an indispensable part of your festive repertoire.
The No-Bake Marvel
One of the most compelling reasons to embrace a rocky road bark recipe is its glorious no-bake nature. Unlike cookies that demand precise measuring, rolling, cutting, and multiple baking sheets, this bark requires zero oven time. This means you save precious energy, keep your kitchen cool, and free up your oven for other holiday roasts or casseroles. It's a game-changer for anyone looking to maximize their holiday output without feeling overwhelmed.
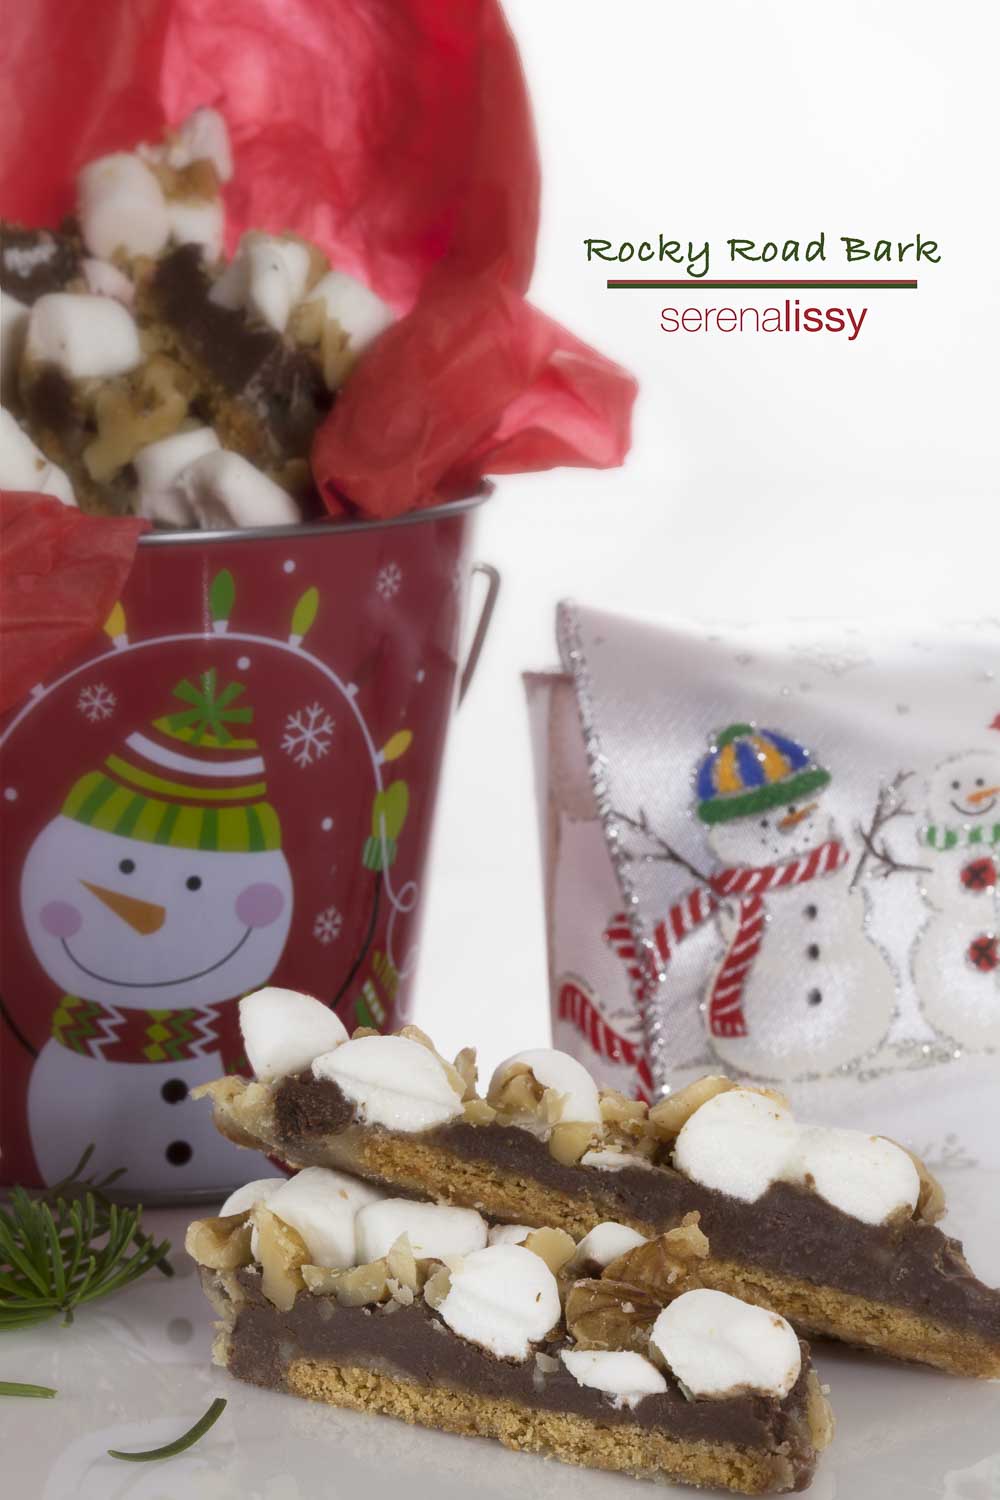
Effortless Gifting & Impressive Presentation
When it comes to holiday gift-giving, homemade treats speak volumes. Rocky Road Bark is not only incredibly delicious but also visually appealing. A single batch can yield multiple gifts, making it an incredibly efficient way to show appreciation to neighbors, teachers, colleagues, or friends. Break it into irregular, rustic pieces, arrange them in a decorative tin, a cellophane bag tied with a festive ribbon, or even small, disposable loaf pans for individual portions. The impressive look belies its simple creation, giving you all the credit for a seemingly elaborate confection.
Irresistible Flavor & Texture Medley
At its heart, the appeal of Rocky Road Bark lies in its harmonious blend of flavors and textures. The deep, often semi-sweet, chocolate forms a luxurious base, providing that comforting cocoa intensity. Then come the stars of the "rocky road": the soft, chewy marshmallows that melt slightly into the warm chocolate, creating pockets of gooey delight, and the satisfying crunch of nuts that provide a perfect counterpoint. This delightful interplay is what keeps everyone coming back for more, reminiscent of a beloved hot chocolate topped generously with marshmallows.
Crafting Your Easy Rocky Road Bark: A Step-by-Step Guide
Making rocky road bark is less about following rigid rules and more about embracing a joyful, creative process. This rocky road bark recipe is designed for simplicity, ensuring fantastic results every time.
The Essential Ingredients
The magic of this bark lies in a handful of quality ingredients, each playing a crucial role:
- 10 oz (approx. 280g) large marshmallows: Don't opt for the mini ones here; large marshmallows, cut into quarters, create those distinctive, chewy pockets. Cutting them ensures they are evenly distributed and don't clump excessively.
- 8 oz (approx. 225g) semi-sweet baking chocolate: This is the foundation of your bark. Semi-sweet chocolate provides a rich cocoa flavor that isn't overly sugary, offering a beautiful balance with the marshmallows. Using good quality chocolate chips or baking bars will significantly elevate the final taste and texture.
- ½ cup (approx. 113g) unsalted butter, cut into chunks: Butter is the secret to a silky-smooth, luscious chocolate base. It melts seamlessly into the chocolate, making it wonderfully creamy and easy to work with.
- 1 teaspoon pure vanilla extract: A small splash of vanilla enhances the overall flavor profile, adding warmth and depth to the chocolate.
- ½ cup chopped walnuts (or your preferred nuts): These are essential for the "crunchy" element of your rocky road. Walnuts offer a classic nutty flavor, but feel free to experiment with other options.
Simple Preparation Steps
Let's get started on bringing this delightful Quick & Simple Rocky Road Bark: Your Easy No-Bake Guide to life:
- Prepare Your Pan: Grease an 8x8 inch baking pan with non-stick cooking spray or butter. For even easier removal and clean-up, line the pan with parchment paper, leaving an overhang on the sides. This creates "handles" to lift the cooled bark out effortlessly. If gifting, consider using mini disposable loaf pans for individual, charming presentations.
- Marshmallow Mastery: Take your large marshmallows and cut them into quarters. A clever trick to prevent sticky scissors is to dip them in a little water after every few cuts. Once quartered, spread these marshmallow pieces evenly across the bottom of your prepared pan. This forms the soft, chewy layer that will soon be enveloped in chocolate.
- Melt the Chocolate Magic: In a medium saucepan, combine the semi-sweet chocolate and butter chunks. Place the saucepan over *very low* heat. Alternatively, you can use a double boiler for even gentler melting. Stir constantly with a spatula or whisk until the mixture is completely smooth and melted. Once smooth, remove from heat and stir in the vanilla extract. The goal is a glossy, consistent chocolate mixture.
- Combine and Conquer: Immediately pour the melted chocolate mixture evenly over the marshmallows in your prepared pan. Use an offset spatula or the back of a spoon to spread the chocolate, ensuring every marshmallow piece is thoroughly coated. While the chocolate is still wet, sprinkle your chopped walnuts (or other chosen toppings) generously over the surface. Gently press them down lightly so they adhere to the chocolate.
- Chill to Perfection: Transfer the pan to the refrigerator and chill for at least 1-2 hours, or until the chocolate is completely set and firm. Resist the urge to rush this step; proper setting ensures clean breaks and a fantastic texture.
- Break and Enjoy: Once fully set, lift the bark out of the pan using the parchment paper overhang. Place it on a cutting board and break it into irregular pieces. The beauty of bark is its rustic, natural breaks.
Tips for Rocky Road Bark Perfection & Creative Twists
While the basic rocky road bark recipe is wonderfully straightforward, a few expert tips can elevate your creation from great to absolutely unforgettable.
Achieving the Best Texture and Flavor
- Choose Quality Chocolate: The foundation of your bark is the chocolate. Investing in good quality semi-sweet chocolate chips or a baking bar will make a noticeable difference in flavor and melt. Lower quality chocolate can sometimes have an odd texture or a waxy mouthfeel.
- Melt Gently: Patience is key when melting chocolate. High heat can cause chocolate to seize or burn, resulting in a grainy texture. Low and slow, with constant stirring, is the way to go for that velvety smoothness.
- Marshmallow Size Matters: As mentioned, large marshmallows are preferred. Their size ensures you get distinct, gooey pockets of chewiness that stand out against the chocolate and nuts. Mini marshmallows tend to disappear or melt too completely.
- Even Distribution: Ensure your marshmallows and nuts are spread evenly before pouring the chocolate. This guarantees every single bite of your rocky road bark offers the delightful trifecta of chocolate, marshmallow, and crunch.
- Proper Storage: Store your Rocky Road Bark in an airtight container at room temperature for up to a week, or in the refrigerator for extended freshness, especially in warmer climates. If refrigerated, let it sit out for a few minutes before serving to soften slightly for optimal texture.
Unleash Your Inner Bark Artist (Customization Ideas)
This Quick & Simple Rocky Road Bark: Your Easy No-Bake Guide is incredibly adaptable. Don't be afraid to experiment and make it your own!
- Nut Variations: Beyond walnuts, try chopped pecans, almonds, peanuts, or even a mix. Toasting nuts lightly before adding them intensifies their flavor.
- Chocolate Types: While semi-sweet is classic, you can use milk chocolate for a sweeter bark, or dark chocolate for a richer, more intense flavor. A drizzle of melted white chocolate or a contrasting chocolate type over the top adds a beautiful visual appeal.
- Sweet & Salty Crunch: For an irresistible sweet and salty kick, crush some pretzels and sprinkle them over the top along with the nuts.
- Fruity Additions: Dried cranberries, cherries, or chopped apricots can add a lovely tang and chewiness.
- Candy & Cookie Bits: Mini M&Ms, crushed candy canes (for a festive twist), toffee bits, or even crushed shortbread cookies can be wonderful additions.
- Flavor Boosters: A tiny pinch of flaky sea salt (like fleur de sel) sprinkled over the top just after pouring the chocolate beautifully cuts through the sweetness and enhances the chocolate flavor. A dash of espresso powder stirred into the melted chocolate can also deepen its complexity.
Gifting Rocky Road Bark: Presentation Matters
The beauty of this rocky road bark recipe as a gift lies not only in its deliciousness but also in its versatility for presentation. Once cooled and broken into pieces, the gifting possibilities are endless.
- Decorative Tins: Layer pieces of bark in a festive holiday tin, perhaps separated by parchment paper to prevent sticking.
- Cellophane Bags: Fill clear cellophane bags with a few pieces of bark, tie with a colorful ribbon, and add a handmade gift tag.
- Mini Loaf Pans: As mentioned earlier, preparing the bark in mini disposable loaf pans means you have individual, ready-to-gift portions. Just wrap with cellophane or a decorative paper sleeve.
- Personalized Tags: Always include a small tag listing the ingredients, especially if nuts are used, for allergy awareness. You can also add a sweet message or a festive drawing.
The effortlessness of making this bark frees up your time to focus on these thoughtful presentation details, turning a simple treat into a cherished holiday present.
Conclusion
This holiday season, take a deep breath and embrace the joy of simple, sensational treats. The rocky road bark recipe is your ultimate companion, promising rich chocolate, chewy marshmallows, and crunchy nuts in every easy-to-make, easy-to-gift bite. It's the perfect solution for satisfying those holiday cravings, impressing guests, and sharing a little homemade love without the stress of extensive baking. So, gather your ingredients, unleash your creativity, and let this delightful no-bake bark become a new, cherished tradition in your home.
